iWork may not be in the same league as Microsoft Office, but it’s still a powerful office suite to have on your Mac.
Once you get familiar with the basics of iWork, you’re ready to move on to the next step, which is discovering what else you can do within the iWork apps and how. That’s where the following tips come in. They highlight some of the useful functions available across all three iWork apps (Pages, Numbers, and Keynote).
Before we get to those iWork tips, though, we would like to point out a significant naming difference between Pages/Numbers and Keynote.
Watch Out for This Keynote Naming Convention
In Keynote, Apple refers to templates as themes. But we’ll refer to them as templates in this article to avoid confusion.
Keep in mind though that you’ll see the word theme instead of template within menu options and such in Keynote. The options themselves show up in the same locations as they do in Pages and Numbers; it’s just the naming that differs.
Now, let’s explore some handy features of the iWork apps.
1. Change Language and Region Preferences
iWork apps allow you to change the language and region settings for each document. These influence how the document displays numerical values, currencies, dates, and more.
You can access the language settings by clicking on File > Advanced > Language & Region. By default, they’re set to match the system settings as you see them under System Preferences > Language & Region.
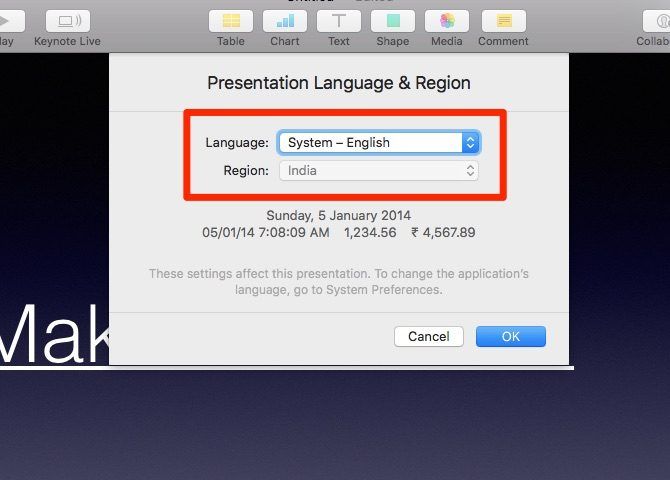
When you switch to a different language and/or region, you’ll see a preview of the updated data formats right below the settings. Hit the OK button to save the settings.
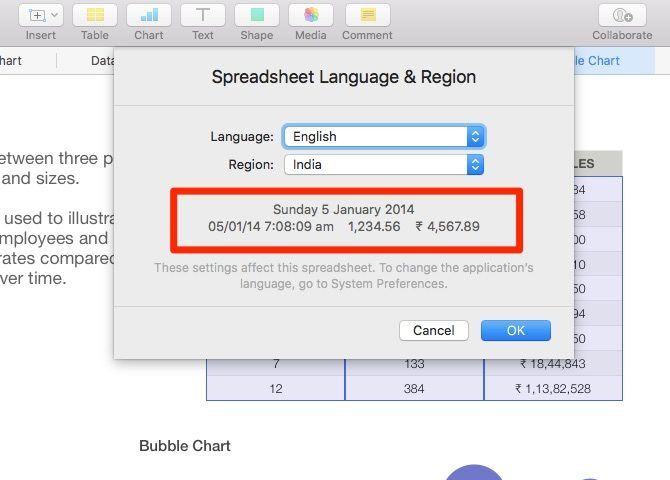
Will the document content automatically update to match the new format? Not all of it. You might need a spot of trial and error to figure out what exactly changes.
But any fresh data you enter takes on the format specified by the updated language and region preferences. For this reason, it’s best to tweak those settings as soon as you set up the document.
2. Customize Autocorrect Settings
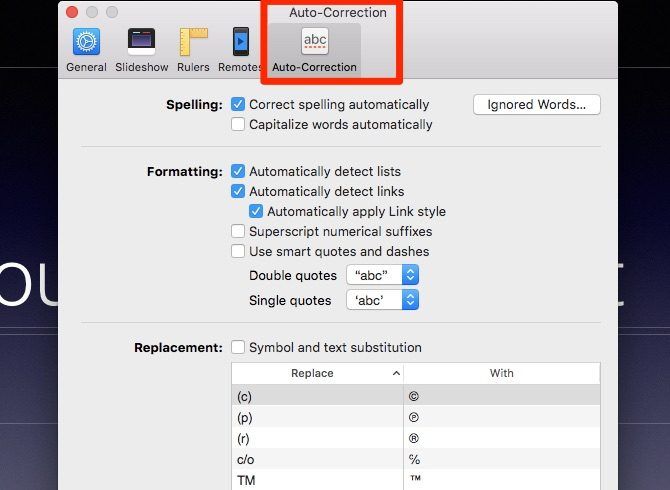
The autocorrect settings that you have set up under System Preferences > Keyboard > Text apply across macOS. Did you know that you can override those for each iWork app from Preferences > Auto-Correction?
Yes, Pages, Numbers, and Keynote’s Preferences each have a special tab with several autocorrect settings you can tweak as you see fit. Apart from having custom settings for formatting and spelling, you get to have custom lists for text replacement.
3. Give Objects a Makeover With Styles
iWork has preset combinations of colors, fonts, shapes, and more to help you change the look and feel of objects. You’ll find these styles hidden in the Format inspector.
Of course, the options you see in the inspector depend on the object you have selected, and the name of the corresponding tab also varies. Don’t worry though, because the tabs are super easy to find.
You’ll see a Style tab for text boxes, shapes, and media. Table styles appear under the Table tab and chart styles under the Chart tab. You’ll see paragraph styles and character styles under the Text tab.
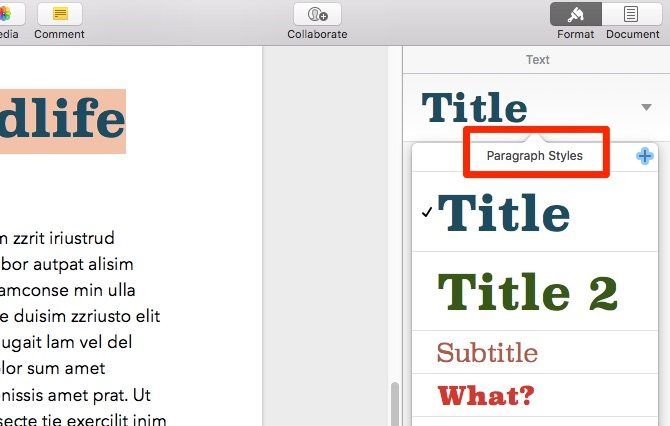
To apply a style, select the object you want to slap new paint on and pick from one of the preset styles.
4. Create Custom Styles
iWork apps allow you to create styles of your own. To add one, select any object whose style you want to save and click on Format > Advanced > Create Style.
Would you prefer a one-click shortcut instead of the menu option? Click on the + button that follows the existing styles in the Format inspector. And there’s your style now saved as a preset!
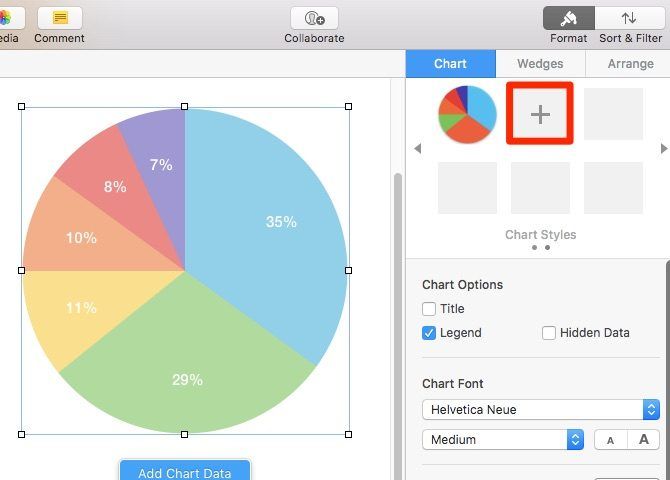
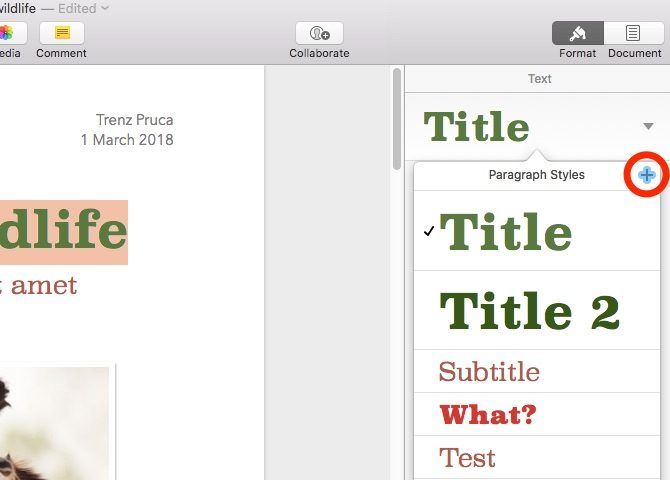
For paragraph, character, and list styles you’ll find the add button in a slightly different location. It’s at the top-right of the style list.
It’s a pity that Apple has ditched the import feature with which you could bring in custom styles from one document into another. You can still do that, but it takes a bit of extra effort, and you can only move one custom style at a time.
First, you have to select the object whose style you want to copy and click on Format > Copy Style. Then, you have to use the Format > Paste Style option in the document where you want to reproduce the style.
5. Add Hyperlinks
Select the text for which you want to create a hyperlink and visit the Format > Add Link menu or the right-click menu to get started. You’ll see that you can create links to both webpages and email addresses.
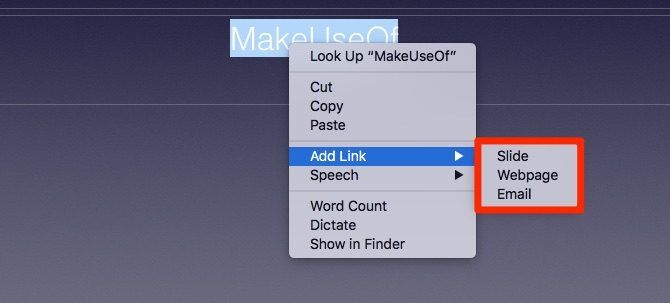
In Keynote, you’ll also be able to link to specific slides. Likewise, you’ll be able to link to specific elements (called bookmarks) of a document in Pages. Of course, you’ll need to have a bookmark in place before you can link to it.
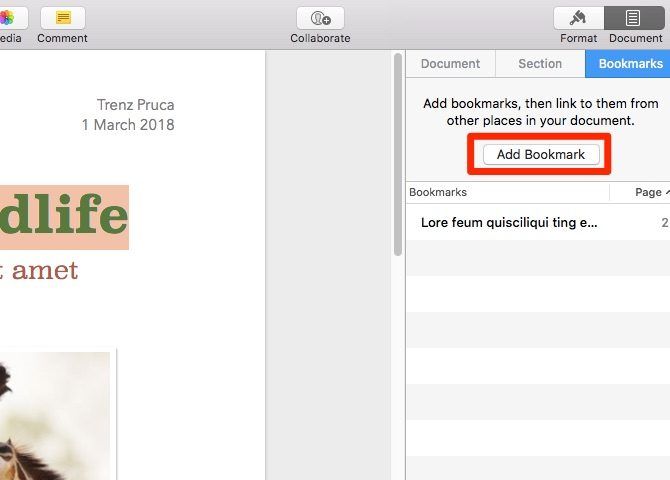
To create a bookmark, first select the element you want quick access to. Then, in the Bookmarks section of the Document inspector, click on the Add Bookmark button. The bookmark pops up in the list right below the button.
6. Compress Files
Inserting media objects like photos and movies into an iWork document can increase the file size significantly. That’s because the file stores those objects at their original size and resolution even if you have scaled them down.
Of course, that’s handy when you want to restore the original versions of the media objects. But as a compromise, you have to deal with a larger file.
How about compressing files by letting iWork trim audio/video and scale down image resolution? Clicking on File > Advanced > Reduce File Size does the trick. Be sure to use the option after everything in the document is in place and all media objects are at the size you want them.
Next, you’ll get a message box telling you how much the app will reduce the file size. Click on the Reduce button to go ahead with the compression.

7. Lock Objects
Do you often end up moving or editing elements you didn’t mean to? Prevent that by pinning objects in place with the Arrange > Lock option. You don’t have to do this one object at a time; locking works even when you have multiple objects selected.
Except for comment boxes, you can lock every type of object you see listed in the primary toolbar of an iWork app. That includes text boxes, tables, shapes, images, and videos.

Are you unable to lock objects in Pages? At times you’ll see the Lock option grayed out in the Arrange menu of the Pages application. Try this next fix to enable it.
First, open the Format inspector for the selected object and switch to its Arrange tab. Under the Object Placement section, switch from the Move with Text tab to the Stay on Page tab. That should bring back the Lock option for the selected object.
If you want to move or edit an object you have locked, you’ll have to unlock it first by clicking on Arrange > Unlock.
8. Group Objects
Let’s say you want to move a few objects without disturbing their relative position to each other. Or maybe you want to apply the same style to all of them. In cases like these, it helps if you can treat those objects as a single item. You actually can, once you group them together by clicking on Arrange > Group.
To separate the grouped objects and go back to editing them individually, all you have to do is select the group and click on Arrange > Ungroup.
You can also group/ungroup objects (plus lock/unlock them) from the right-click or Control-click menu.
9. Keep Arrange Tools Handy
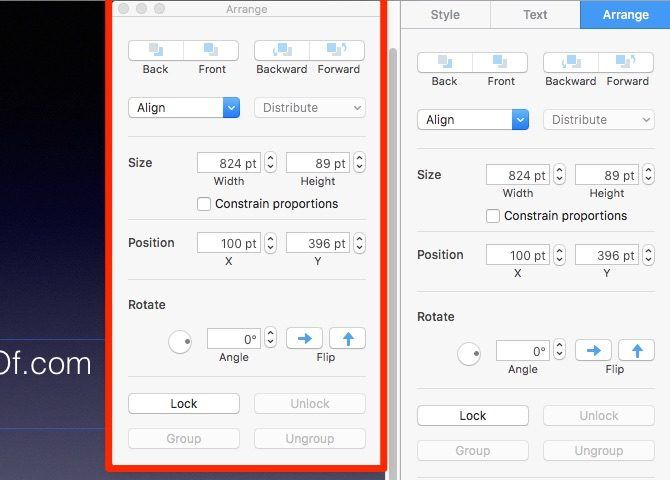
The Format inspector includes an Arrange tab to give you options for positioning objects with precision. But it’s tedious to switch to it from one of the other tabs every time.
Why not make the Arrange tools easier to access? Give them a dedicated portable pane by clicking on View > Show Arrange Tools. You can also put Colors and Adjust Image tools in similar popout panes by clicking on the appropriate Show option in the View menu.
10. Access View Options Quickly
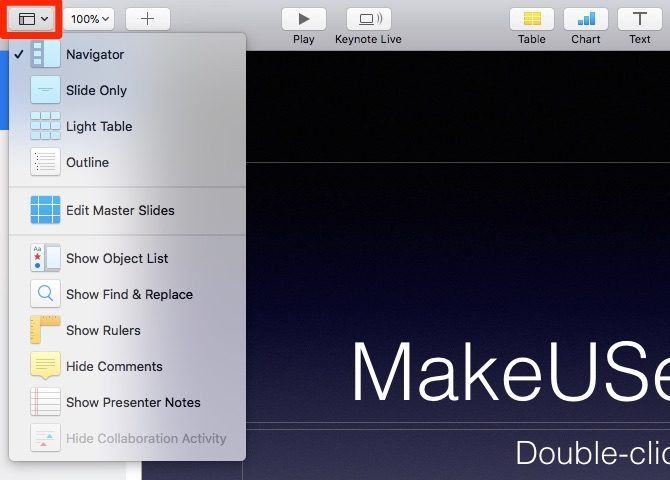
See that tiny View toolbar button at the extreme left? It hides a useful menu to toggle the visibility of key on-screen elements such as rulers, comments, and the Find & Replace box.
Based on the iWork app you’re in, you can use that toolbar View menu to access a few special functions too. For example, in Pages you can hide thumbnails and reveal the word count from that menu. In Keynote, you can switch between various layouts and also start editing master slides.
11. Hide the Template Chooser
When you open any iWork app, it shows you a set of neat, time-saving templates to choose from.
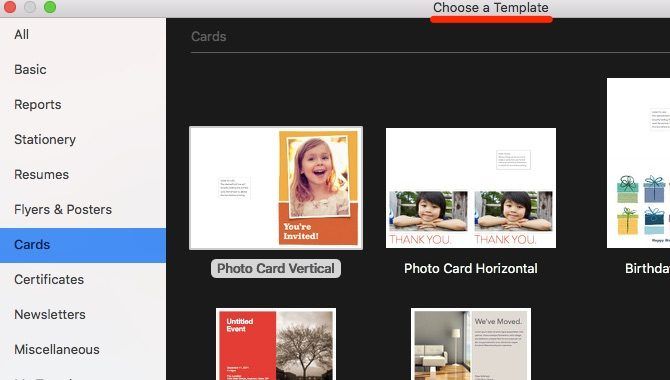
While the templates are useful, you might prefer to start with a blank document every time. In that case, the template chooser becomes an annoying popup. Hiding it is easy.
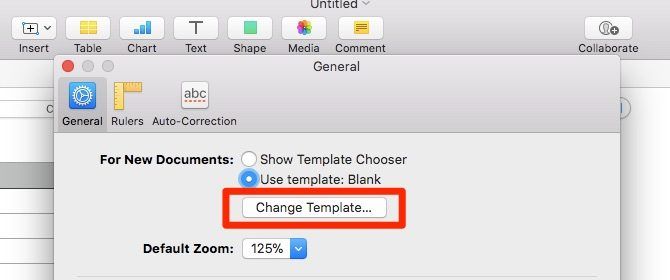
First go to the app’s Preferences section with the shortcut Cmd + Comma. Under the For New Documents section of the General tab, select the radio button for Use template.
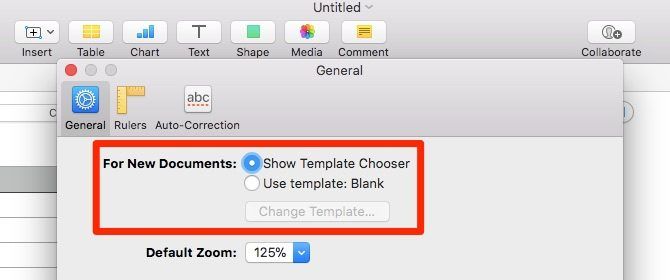
In Pages and Numbers, the default template is Blank, while in Keynote, it’s Gradient. You don’t have to stick with these though. Select the Change Template button below the Use template option to select a new default. You can also create a new template altogether to use as the default. We’ll see how to do that in the next section.
Want to access the template chooser after you have hidden it? Bring it up by holding down the Option key when you’re creating a new document. Option + Cmd + N is the corresponding shortcut.
12. Create New Templates
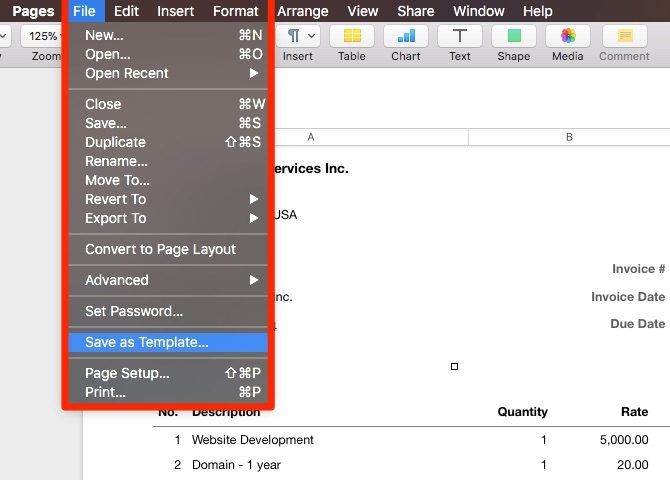
Let’s say you have set up an iWork document just so, and now you would like to use that as the starting point for future documents. You can, once you save that model document as a template. To do so, click on File > Save as Template. (In Keynote, you’ll see Save Theme instead of Save as Template.)
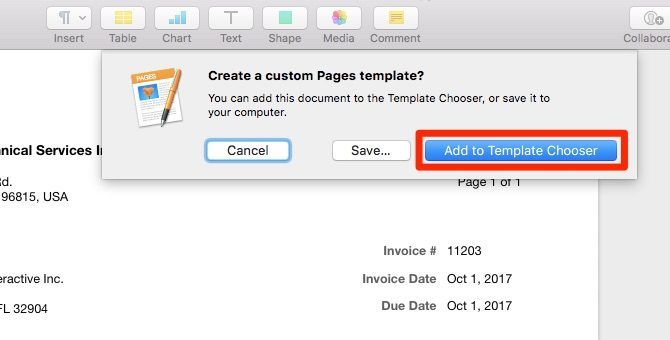
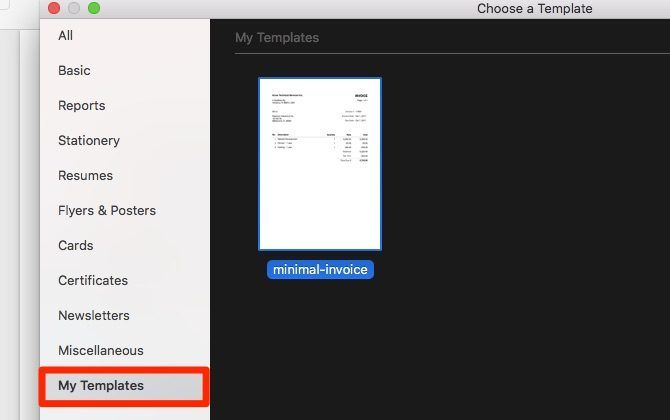
In the dialog box that shows up, click on Add to Template Chooser to save the template in the default location. It will then show up in the My Templates section of the template chooser. If you want to save the template in a different location, click on the Save button instead.
13. Create Placeholders for Text and Media
If you’re working off a custom template, you have to select the existing bits of text every time you want to replace them. You won’t have this problem if the text snippets in the template are placeholders. When they are, you can start typing in text right away without having to select the existing text first.

Likewise, if you define placeholders for media, you can replace them with fresh media in a snap. All you have to do is click on the add image button at the bottom-right on the placeholder itself (see screenshot below).
This brings up the popup media explorer from which you can select the image or video you need. You won’t have to bother with resizing or restyling the new media; they take on the same style as the placeholder.

As you can see, having placeholders for text and media saves a lot of time and you’ll want to make use of them while creating templates. Doing so is pretty straightforward.
Select any bit of text you want to define as a placeholder and click on Format > Advanced > Define as Text Placeholder. If you want to set an image or a video as a placeholder, choose the Define as Media Placeholder option from the same menu instead.
14. Import Ready-Made Templates
You don’t have to create custom templates. Why not import some awesome ones from iWorkCommunity? They’re free to use! (You can also “borrow” templates from friends and family via email.)
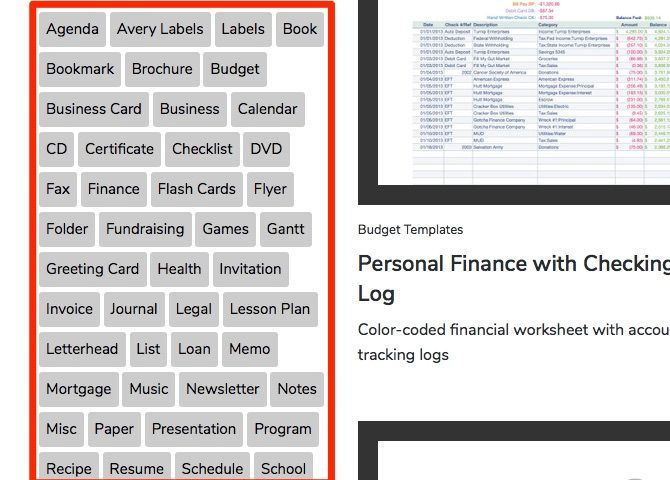
iWorkCommunity has templates for timesheets, fundraisers, journals, and many other types of documents. Download any template you want and open it with the relevant iWork application.
The template opens as a regular file. To install it, you’ll need to save it as a custom template like we saw in the section above. Once you do, it shows up in the My Templates section of the template chooser as usual.
15. Restore Previous File Versions
iWork apps autosave your work at regular intervals, after you have saved a file once by naming it. You can view and restore any of the previous file versions with the File > Revert To > Browse All Versions option. That brings the file versioning system on macOS into action.
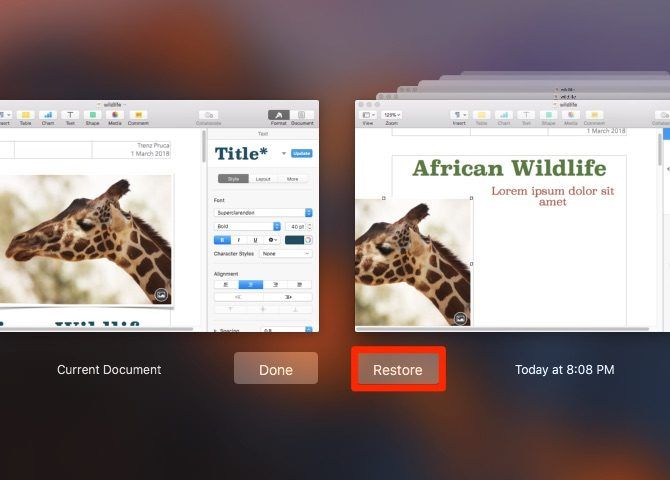
If there’s any particular version of the file you would like to save as a restore point, click on File > Save or hit Command + S to save that version manually. It will then show up along with the autosaved versions and you can restore it anytime.
16. Back Up Files to Microsoft Office Formats
If you want to ensure maximum compatibility for your office files across most platforms and software versions, keep a copy of:
- Pages documents as DOC (Word) files,
- Numbers spreadsheets as XLS (Excel) files, and
- Keynote presentations as PPT (PowerPoint) files.
You might lose a few files settings with this approach, but your data is more or less intact and backwards-compatible. Now let’s see how to actually export those files.
Look under the File > Export To menu to find the corresponding Microsoft Office application for exporting your file. When the Export Your Document dialog box shows up, select the relevant format from the Advanced Options section.
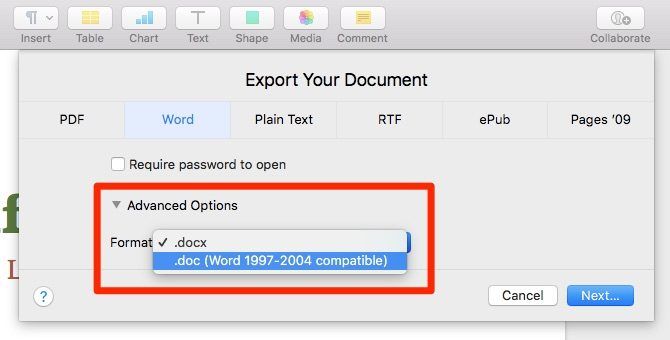
Keep in mind that DOC, XLS, and PPT are legacy file formats that Microsoft has long ago replaced with the DOCX, XLSX, and PPTX formats respectively. Explore the latter with our article about rare office file formats.
17. Protect Files With Passwords or Touch ID
The iWork apps allow you to hide your files behind a password. Click on File > Set Password to start setting up one. Be sure to add a password hint for easy recall. If you want to get Keychain to remember the password for you, check this box: Remember this password in my keychain. Hit the Set Password button to finish locking your file.
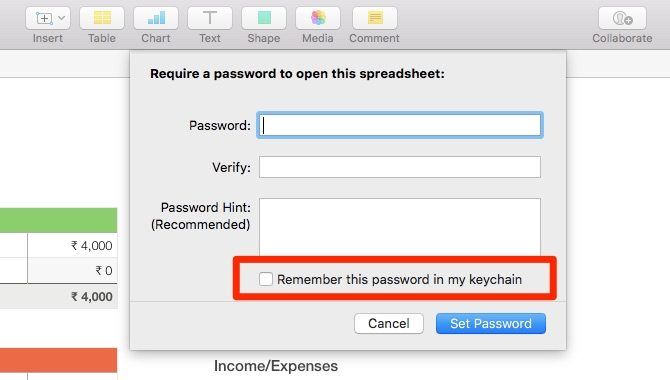
If your Mac supports Touch ID for fingerprint unlocking, you can use that feature to unlock iWork files. But first, you’ll need to set up Pages, Numbers, and Keynote to use Touch ID. To do this, in the Preferences section of each of these apps, select the checkbox for Use Touch ID.
Touch ID works only in tandem with a text password, so you can’t use only Touch ID to lock/unlock a file. You’ll need to set up a text password for it first, and while you’re doing that, you’ll be able to select the Open with Touch ID option.
18. Find Out What’s New
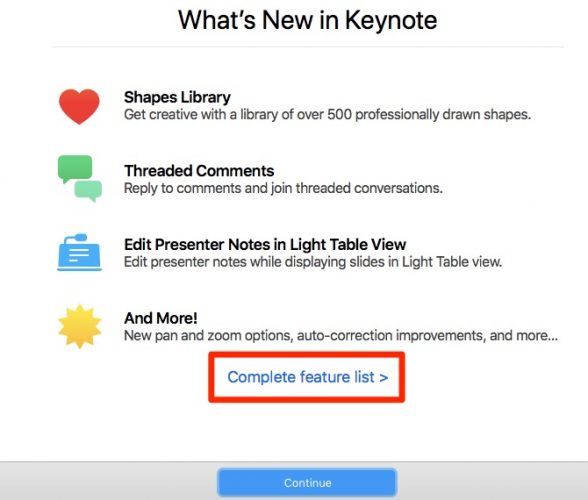
Want to know what the latest iWork update has in store for you? Click on Help > What’s New in in any iWork app to see the highlights in a popup box. Hit the Continue button to exit the box. If you want to know about all the top new features, click on the Complete feature list link to visit the relevant Apple support page.
Share an iWork Secret or Two Yourself
Whether you ditch Microsoft Office for iWork or use both office suites side by side is up to you. In either case, learning the best tips and tricks for iWork is sure to save you a lot of time.
Tidak ada komentar:
Posting Komentar